Build a clean Rust ESP setup
A practical ESP configuration guide for readable player, resource, event, and monument information.
9 min read
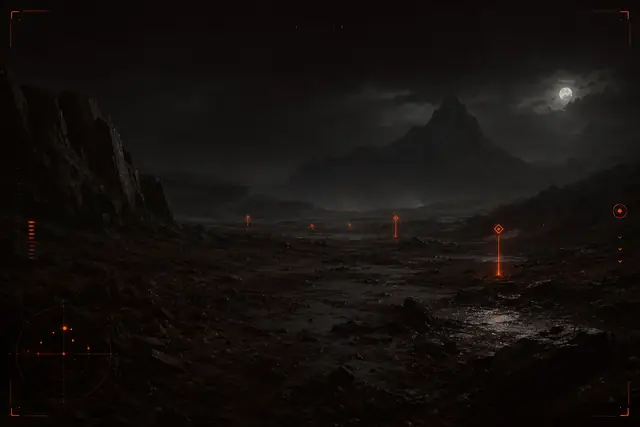
A useful ESP setup should reduce decisions, not cover the screen with labels. If every player, node, container, monument, and event is equally bright, the important information disappears into visual noise. The solution is a hierarchy: threats first, current objectives second, and background context last.
Both X-Ray and Pro can support an awareness-focused workflow, while Pro adds broader configuration for players who also maintain combat profiles. Whichever option you use, begin with a blank or minimal profile. Adding one information layer at a time is faster than untangling an “everything on” preset.
Start with player visibility
Player information is usually the highest-priority layer, so configure it before world objects. Use a strong, consistent color for active players and set a distance that matches the profile’s job. An open-field roaming profile may need a longer range than a compact monument profile, where distant labels can appear through several structures and obscure nearby movement.
Keep the display compact. Name, distance, and a simple box or marker are often enough. Extra bars, lines, equipment text, and status flags should earn their space. If a detail does not change your next decision, remove it.
Treat sleepers as a separate class. A muted color keeps them visible without presenting them as immediate movement. On a farming route, sleepers may be useful context; during a crowded monument run, they can be disabled or restricted to a short distance. Never use the same urgent color for active players and sleepers.
Filter resources by the current objective
Resource ESP becomes cluttered when stone, metal, sulfur, wood pickups, plants, and collectibles all compete at long distance. Build profiles around a task:
- Starter profile: nearby stone, wood, hemp, and basic pickups.
- Ore run: metal and sulfur emphasized; stone shown at a shorter range.
- Farm route: plants or collectible categories only, with player visibility retained.
- Return trip: resources disabled so the screen focuses on threats and navigation.
Distance should reflect whether you would actually divert to collect an item. If you would not leave your route for a node 250 meters away, drawing it provides no value. Use one muted family of colors for resources, reserving saturated colors for threats and time-sensitive events.
Make containers selective
Container labels multiply quickly around roads, monuments, and decayed bases. Split them by practical value rather than enabling a generic “containers” switch. Show only categories you intend to open: selected military crates, toolboxes, food boxes, or other route-relevant loot.
Use shorter ranges for common containers and a slightly longer range for rare, high-value categories. Avoid giving every container its own unrelated color. Two tiers—standard and priority—are easier to read than a rainbow legend you must remember during movement.
When learning a monument, container markers can teach a route. Once the route becomes familiar, shorten their distance or disable common spawns. Familiarity should make the profile simpler over time.
Keep monuments as navigation context
Monument labels are useful for orientation on a new map, but they rarely need to remain prominent at close range. Configure them with long-range but low-intensity text, then fade or disable them once inside the area. The label for Launch Site should not sit over player information during a fight at Launch Site.
For a monument-specific profile, keep only the local container categories, relevant NPCs, and closer player visibility. Save it separately from your roaming profile so leaving the monument restores wider context without manual retuning.
Separate raid zones from general events
Raid zones are time-sensitive context and deserve a clear but non-obstructive treatment. Use one recognizable accent, a bounded area or restrained label, and a distance appropriate to route planning. Constant animation or oversized text can make a raid marker more distracting than informative.
Patrol Helicopter and Bradley APC also need distinct handling. They are moving or area-specific hazards, not ordinary loot markers. Give each a stable color that is not used for players, and show only the information needed to decide whether to approach, wait, or reroute. If event timers or status text are available, keep them on one line and avoid duplicating the same event across multiple visual widgets.
Use a small color and distance system
A repeatable system is easier to scan:
| Layer | Suggested emphasis | Distance rule |
|---|---|---|
| Active players | High-contrast threat color | Based on terrain and profile |
| Sleepers | Muted neutral | Short to medium |
| Priority loot | Bright secondary accent | Only as far as you would divert |
| Common resources | Low-saturation family | Task-specific and conservative |
| Monuments | Dim navigation color | Long range, fade nearby |
| Raid zones and events | Distinct warning accent | Enough for route decisions |
Test colors against daylight, night, snow, forest, and desert backgrounds. A color that looks perfect in the menu may disappear against the sky. Outlines can improve contrast, but heavy glow and thick boxes often recreate the clutter you are trying to remove.
Maintain profile discipline
Use profiles such as roam-clean, farm-ore, monument-close, and raid-context. Keep a minimal-fallback with only player visibility and essential navigation. Version meaningful revisions instead of overwriting the only working copy.
After each session, remove one element you ignored repeatedly. Review maximum distances after a map or playstyle change, and avoid combining UI changes with unrelated combat tuning. The cleanest setup is not static: it becomes more selective as you learn which information actually changes your decisions.
Finish with a simple test. Stand in a dense area, turn through 360 degrees, and check whether you can identify the nearest active player, your current objective, and the relevant hazard in under a second. If not, reduce labels, shorten distances, and simplify colors until the answer is immediate.
Related articles
HWID spoofer vs UGC recovery: which fits?
Compare Rust HWID Spoofer and Rust UGC for hardware bans vs account restrictions—workflows, limitations, and what neither product guarantees.
ESP, aim assist vs aimbot on Pro & Private
Compare Rust overlay ESP, aim assist, trigger assist, and full aimbot controls across Pro and Private tiers—with sensible configuration guidance.